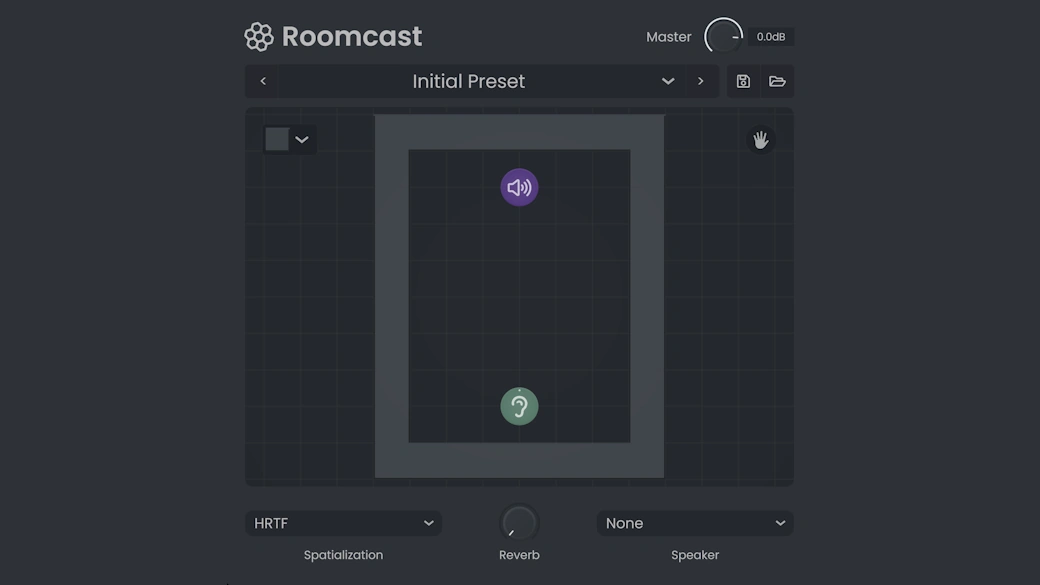
Roomcast is a 2D raycasting spatialization plugin that simulates how sound physically travels through a space. It bounces off walls, gets blocked by obstacles, and land in your ears from a precise direction. In this article, you’ll learn how to use it.
The Map
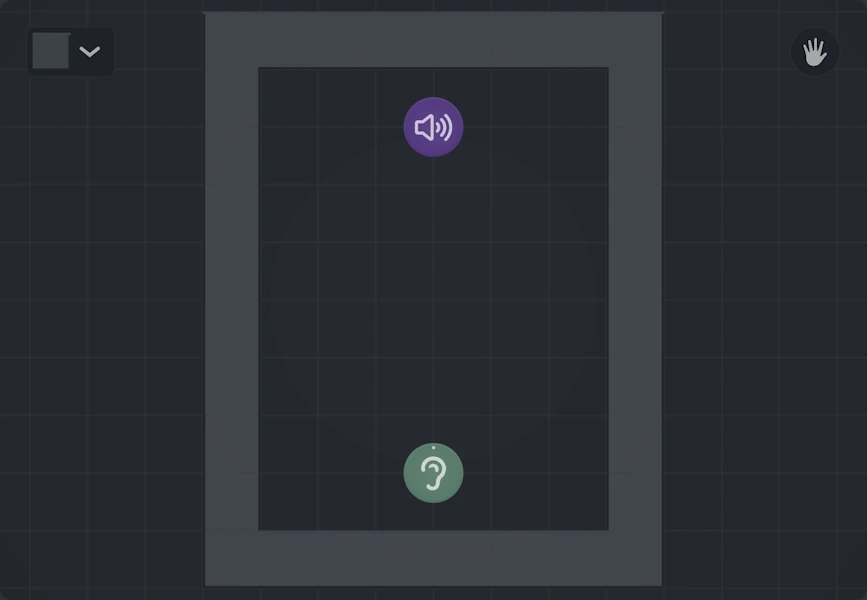
The interactive 2D map is the heart of Roomcast. This is where you design your room, place your source, position your listener, and watch the acoustic rays update in real time as you make changes.
The Source
The Source is where your audio signal “lives” inside the room. Left-click and drag it anywhere on the grid to reposition it. As you move it further from the listener, the direct sound gets quieter.
The Listener
The Listener is your ears inside the room. Left-click and drag it to move it around. You can also use the mouse wheel while hovering over the listener to spin the direction it’s facing. This changes whether the source feels like it’s coming from in front of you, behind you, or off to the side.
Drawing Walls
This is where you sculpt the actual acoustics of your space. First, use the Block Type Selector dropdown to choose between two wall types:
- Solid walls: Fully reflect and block sound. Great for hard surfaces like concrete.
- Permeable walls: Let some sound bleed through. Useful for softer materials or partial barriers.
Once you’ve picked a type, left-click and drag to paint walls onto the grid. Made a mistake? Right-click and drag to erase them.
Navigating the Map
For larger room designs, you’ll need to pan around. There are three ways to do it:
- Left-click and drag on the Hand icon to enter camera drag mode.
- Alt + Left-click and drag anywhere on the map.
- Middle-click and drag anywhere on the map.
You can also scroll the mouse wheel to zoom in and out.
The Controls
Spatialization
The Spatialization dropdown determines how Roomcast positions the audio in your stereo field. There are four modes:
- HRTF: The most immersive option, designed for headphone listening. It places the sound in full 3D space around your head.
- Duplex: A stereo widening approach that uses delay-based techniques for a wide, spatial feel on speakers.
- Panning: Standard amplitude panning. Simple and reliable for stereo speaker setups.
- None: Bypasses spatial processing entirely. You’ll still get the room reverb and attenuation, just without any directional placement.
If you’re mixing for headphones, start with HRTF. For speaker mixes, Panning or Duplex are your go-to options.
Reverb
The Reverb knob blends in the calculated reverb tail. The pre-delay, room size, and wet level are all derived automatically from the raycasting data so the reverb always feels physically grounded.
Speaker Emulation
The Speaker Emulation dropdown filters the output to mimic how the audio would sound on a specific playback device. Options include: phone, speaker, car, monitor, keyboard…
This is great for checking your mix translates, or for creative sound design.
Master Volume
The Master Volume knob is the final gain stage, ranging from -60 dB to +12 dB. Use it to match Roomcast’s output level to the rest of your session, especially after heavy reverb or spatialization that can affect perceived loudness.
Preset Panel

The Preset Panel saves and loads snapshots of your room layout and all parameter states. Use it to store room designs you want to reuse across projects, or to quickly A/B test between different acoustic environments.
That’s it!
You now have everything you need to start placing sounds in real spaces. Shape your room and don’t forget to trust your ears!